
Blog
Marvelous Magic
The thing with hand-woven cotton in India is that we have been spoilt; we just take it for granted. If you tell a foreigner that this scarf or sari has been woven by hand they will be both delighted and amazed but most Indians hardly bat an eyelid. I am old enough to remember when all the older women in south India wore hand-woven cotton saris usually in plain colours with modest borders. They tucked them up to work in the fields and pushed the pallu into their waistband in the kitchen. Along came cheap polyester in myriad colours and patterns and the wonderful six gaj sari began to disappear, spelling disaster for many hand loom weavers. So a revival scheme was launched in 1976, the so-called Janata Sari; low cost saris from handloom weavers for women below the poverty line. That was a kind of death knell which perhaps reduced the value of handloom in the collective conscious, after all who wants to be paying full whack for a sari for the “poor”?
But I wonder what you really know about the amazing process of handloom weaving.
There are about nine steps in the making of the hand woven scarves and saris on our website.
DYEING
The team in Little Flower buy the yarn from the open market and dye it in-house; this involves vats of hot water, careful measurement of the dye powders and a good eye for colour.
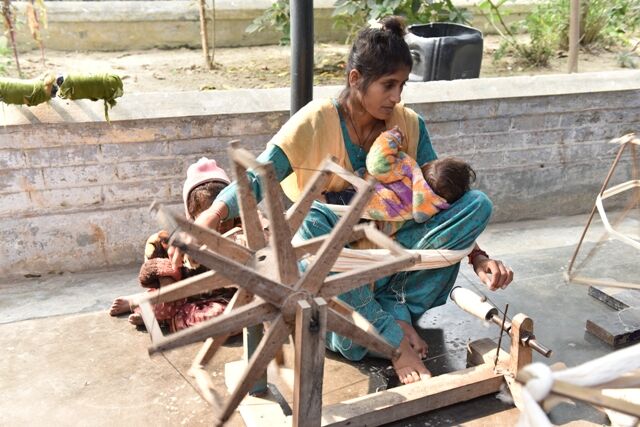
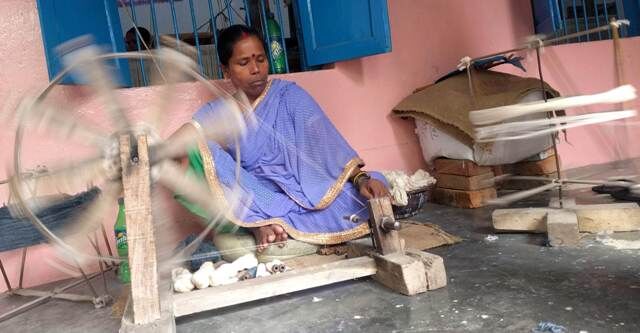
WINDING THE REELS
After it has dried the hanks of yarn are sent downstairs to the bobbin winders who use the most basic of ratt to wind the yarn onto reels.
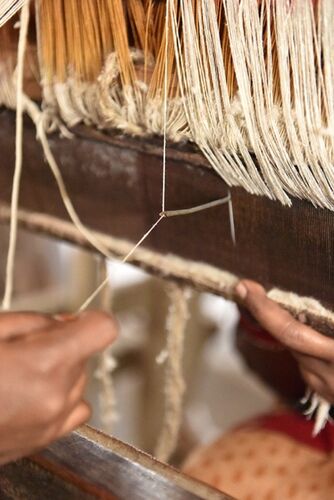
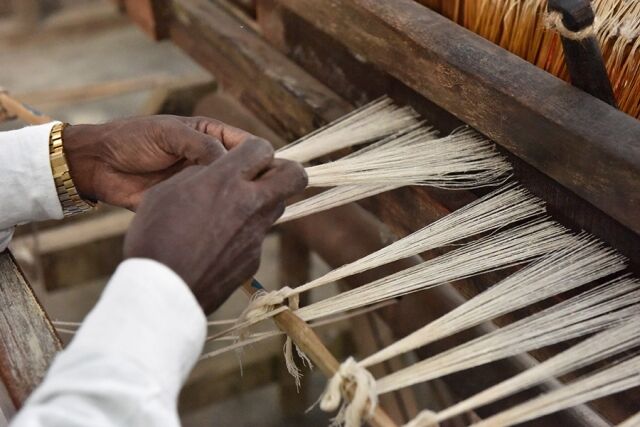
MAKING THE WARP
The loaded reels go to the warp master who meticulously fits them on the warping frame and draws the threads out in order, passing each one through a small reed to separate them as he winds them onto a warping drum. Every single thread in your sari, or scarf is handled by the warping master. He will try and wind a full 200 meters onto the warping drum and then onto the beam.
DRAFTING
The loaded beam is taken into the weaving unit and fitted onto the loom and once again every single thread must be handled, this time for the process of drafting which involves passing the thread through an eye which is attached to the peddles on the loom, or through a gap between the eyes.
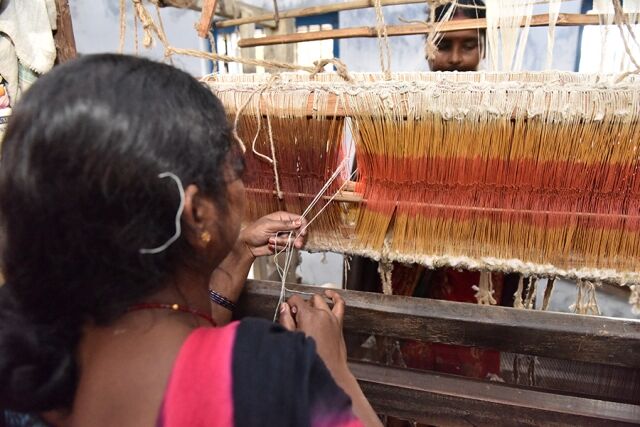
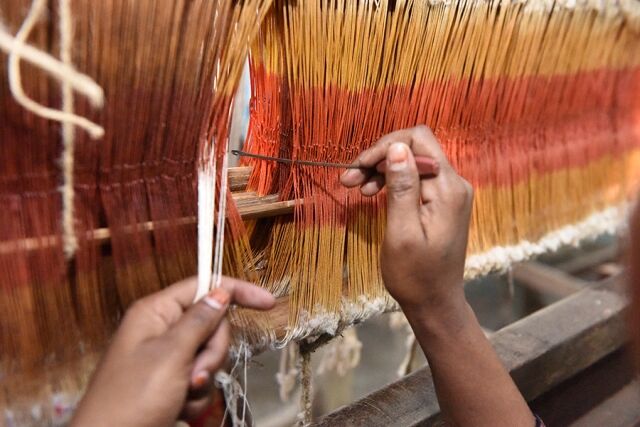
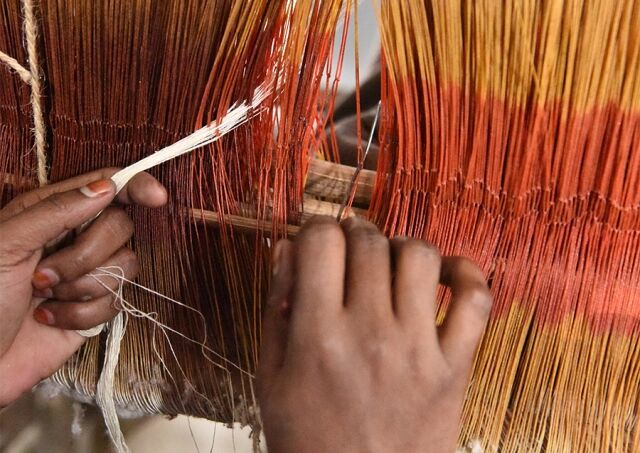
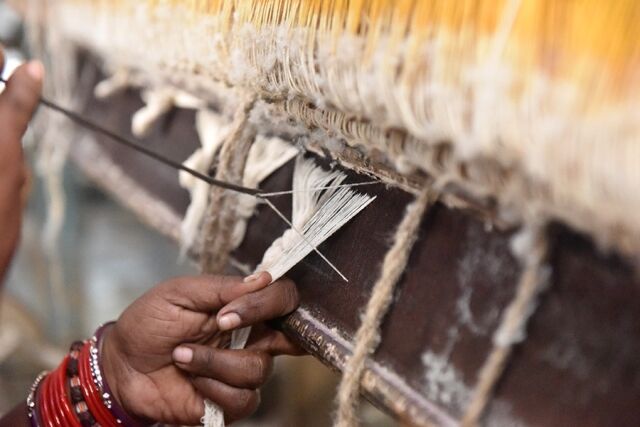
DENTING
That is followed by denting which takes the threads through the reed or comb which determines the number of threads per inch of the fabric to be woven. Finally they are attached to the loom or to an old warp with either a knot or in the case of saris, gum.
BOBBIN WINDING
In the meantime the weft yarn (cross threads) are being wound onto small bobbins Only now can the weaver start work.
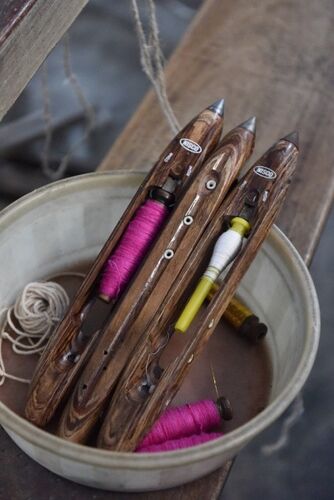
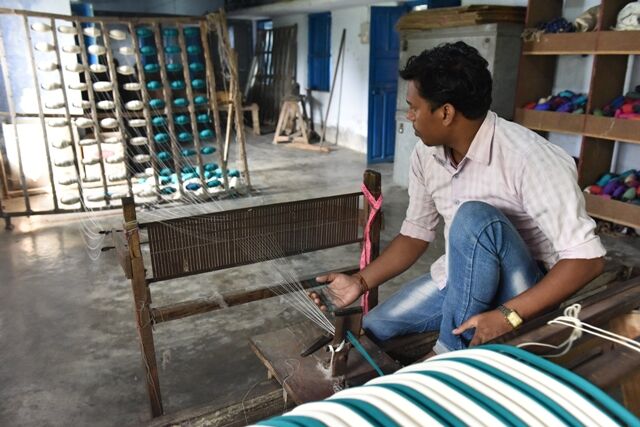
WEAVING
A bobbin loaded with coloured threads fits into the shuttle which is pushed through the yarns by pad which is attached to cord hanging down in front of the weaver as he sits on the bench on the loom. As he pulls the cord the shuttle with the loaded bobbin shoots across making one line of weaving and a loud clacking sound. Then the weaver must change the position of the warp threads; by using the peddles he lifts alternate threads and pulls the shuttle across again for the next line of weaving…on and on for 200 meters.
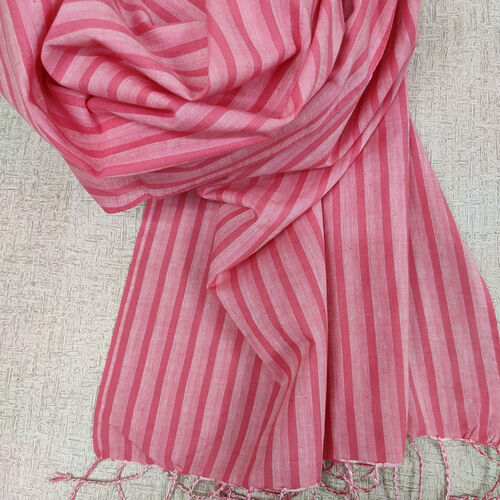
Threads may break and he has to stop and re-tie them, he may have a pattern which requires him to count the rows of weaving before changing colour. Finally he will finish your scarf and it will be cut off the loom, measured, trimmed, fringes twisted and finally pressed through the calendering machine. At last your scarf is ready!
 This is such an age-old and beautiful technique. With each hand woven item comes a little of the artistic eye of the dyer some of the patience of the bobbin winder, a little of the gentle-working warping master and a lot of the clickity-clack of the weaver’s life. Each one is a treasure, each piece a small wonder of marvelous magic.
Photo credits. Bruce Harber Photography
But I wonder what you really know about the amazing process of handloom weaving.
There are about nine steps in the making of the hand woven scarves and saris on our website.
DYEING
The team in Little Flower buy the yarn from the open market and dye it in-house; this involves vats of hot water, careful measurement of the dye powders and a good eye for colour.
WINDING THE REELS
After it has dried the hanks of yarn are sent downstairs to the bobbin winders who use the most basic of ratt to wind the yarn onto reels.
MAKING THE WARP
The loaded reels go to the warp master who meticulously fits them on the warping frame and draws the threads out in order, passing each one through a small reed to separate them as he winds them onto a warping drum. Every single thread in your sari, or scarf is handled by the warping master. He will try and wind a full 200 meters onto the warping drum and then onto the beam.
DRAFTING
The loaded beam is taken into the weaving unit and fitted onto the loom and once again every single thread must be handled, this time for the process of drafting which involves passing the thread through an eye which is attached to the peddles on the loom, or through a gap between the eyes.
DENTING
That is followed by denting which takes the threads through the reed or comb which determines the number of threads per inch of the fabric to be woven. Finally they are attached to the loom or to an old warp with either a knot or in the case of saris, gum.
BOBBIN WINDING
In the meantime the weft yarn (cross threads) are being wound onto small bobbins Only now can the weaver start work.
WEAVING
A bobbin loaded with coloured threads fits into the shuttle which is pushed through the yarns by pad which is attached to cord hanging down in front of the weaver as he sits on the bench on the loom. As he pulls the cord the shuttle with the loaded bobbin shoots across making one line of weaving and a loud clacking sound. Then the weaver must change the position of the warp threads; by using the peddles he lifts alternate threads and pulls the shuttle across again for the next line of weaving…on and on for 200 meters.
Threads may break and he has to stop and re-tie them, he may have a pattern which requires him to count the rows of weaving before changing colour. Finally he will finish your scarf and it will be cut off the loom, measured, trimmed, fringes twisted and finally pressed through the calendering machine. At last your scarf is ready!
Photo credits. Bruce Harber Photography